My reloading bench, much like my desk at work, tends to be messy. This makes reloading more frustrating than it needs to be. Finding the tool or die that I am looking for in a pile of parts and other tools is not very efficient. Can Inline Fabrications' line of reloading bench organization parts help me get out of this mess?
Reloading @ TFB:
Disclosures: No disclosures are necessary for this review. My wife purchased these items.
Background
I reload many thousands of rounds per year. Much of that is devoted to service rifle competition or other precision-oriented rifle applications. I also reload because I am a cheapskate who likes to shoot interesting guns. Interesting guns tend to have expensive ammunition, particularly when you buy it off the shelf. Experiments like my recent quest into the world of safari rifles have me reloading things like 375 H&H and 458 Win Mag in my basement.
Saving money is one reason to participate in reloading, but once you factor in the time spent, the components, and all of the various tools necessary to get involved, it's a lot more questionable than it seems on the surface. I actually enjoy reloading. I look forward to the time I can spend down in my basement working on some project, like match-loaded 30-06 for use in an old rifle or pumping out match ammo for my service rifles. I also feel better about spending my time watching Miami Vice if I've trimmed 500 cases or primed them all instead of sitting on my couch zoning out for the same amount of time.
But all of the parts, tools, and accoutrements necessary to be a reloader take up a ton of space. If you want to use nice equipment and have the right tools for the job, you also need a way to store all of it. That has been a secondary concern of mine for many years. The priority was pushing out good ammunition.
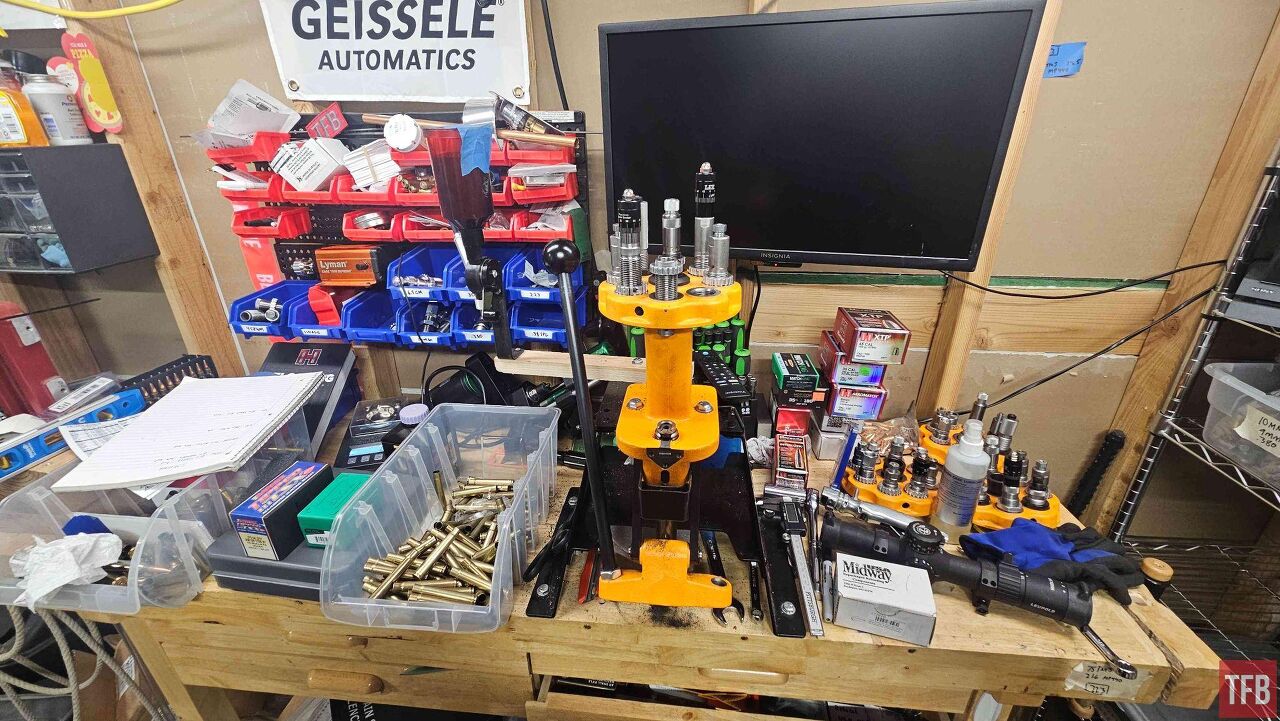
My current reloading setup is not the result of careful design choices nor an engineering efficiency study. Fun story: we moved into this house about 48 hours before my eldest child was born, which means that what you see here is what happens when you throw stuff down in a hurry. What you see here is a result of building the plane as you fly it, rather than a coherent strategy.
What a mess! I still got a lot done, but I spent so much of my time sorting and moving things around and trying to fit the right tool on my bench with clamps. I wasted a lot of time that would have been better spent on reloading.
I learned about inline fabrication from my brother, who had used some of their equipment to organize his reloading bench. Their UltraMount is a convenient way of mounting a press to a bench at a comfortable height with enough rigidity.
For the application, I have been on their website several times in the past and had played around with a few ideas of how to make my setup more efficient and organized but hadn't pulled the trigger. Ultimately, it was my wife who did that. She, being a fan of Marie Kondo and The Home Edit, thought it was amazing that there are specialized tools and equipment to make a reloading bench more organized.
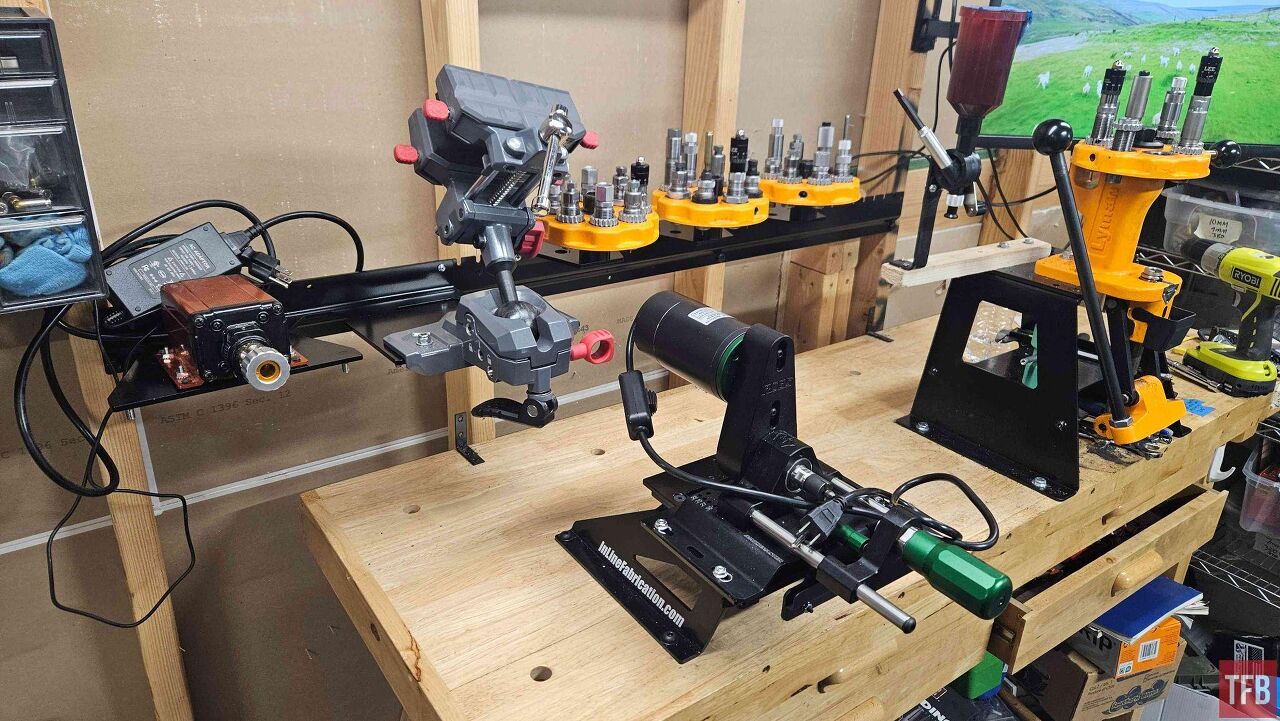
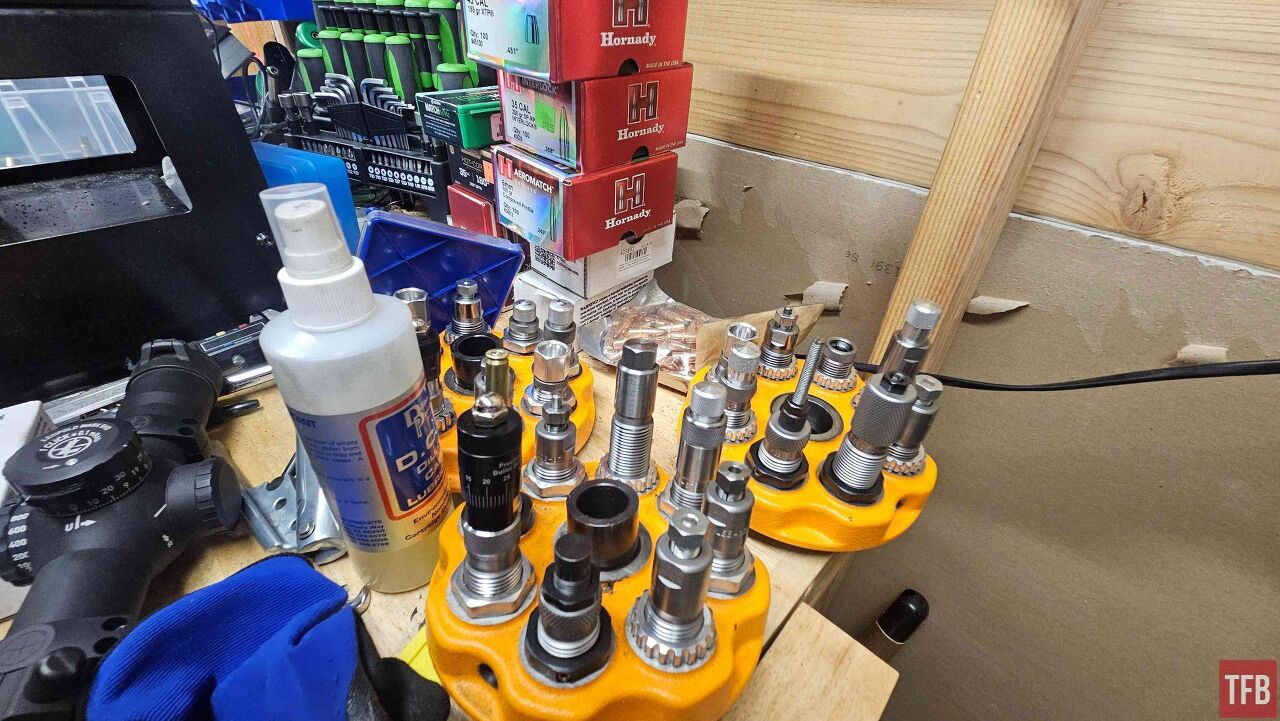
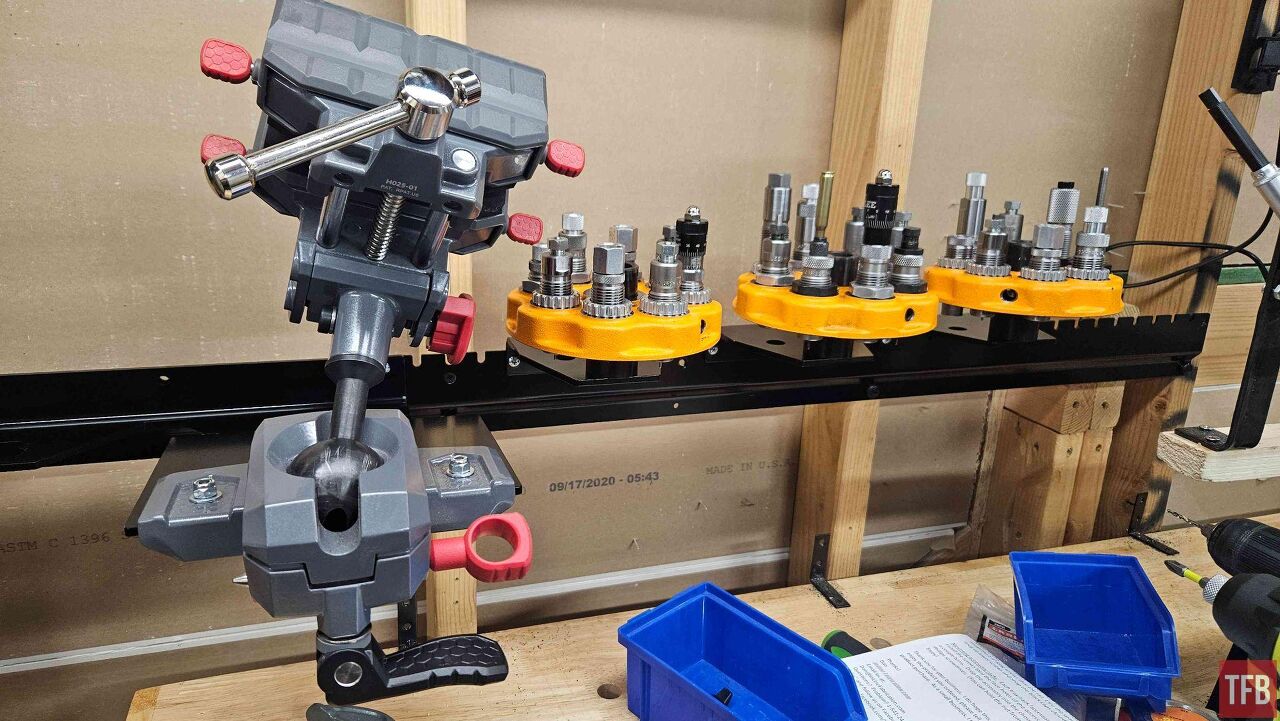
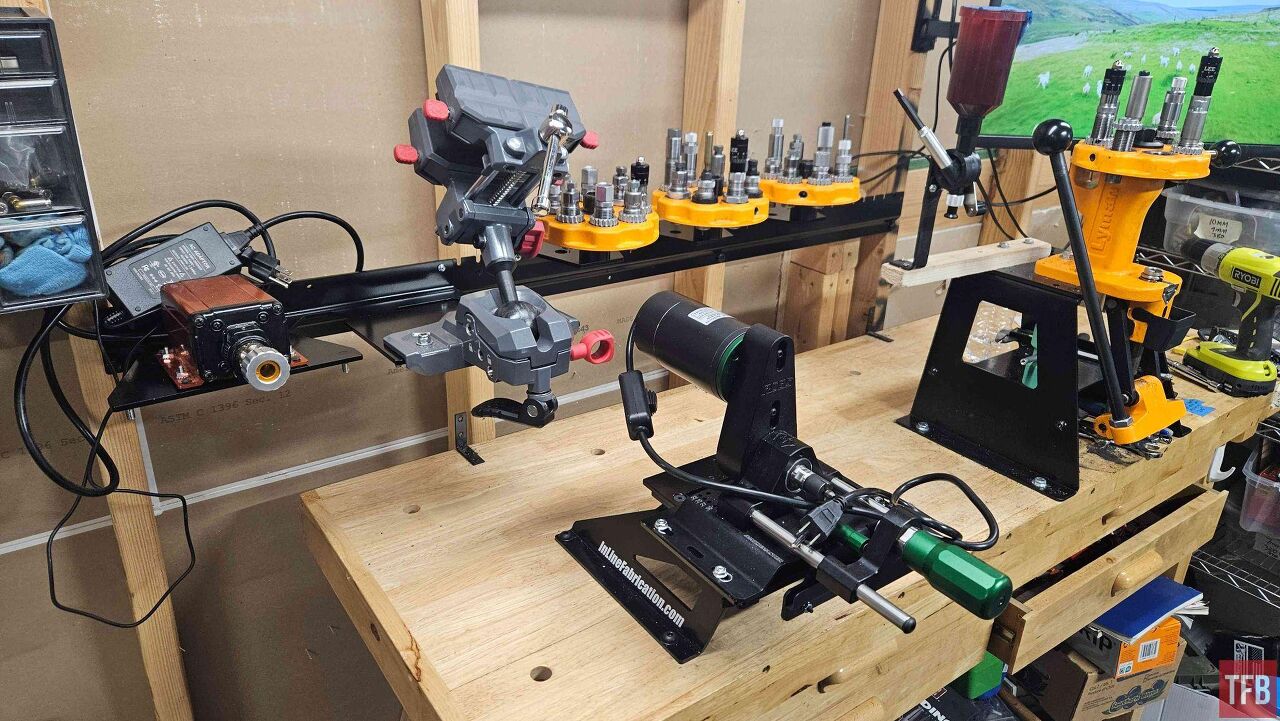
For my birthday, I got to pick out a range of the specific parts that I would need to build my setup. First off, I opted for a wall-mounted rail to hold the parts. In my current setup, I have a Lyman All-American 8 press on a Lyman mount. I was pretty happy with that and did not see a need to change it at the moment. The problem with the press was the turret heads. I have four heads loaded with dies and no way to store them. That takes up a large amount of bench space, and there are concerns about the decapping dies getting bent with those sitting on the table. I also switch between them fairly frequently and wanted a way to keep that organized.
Another major concern that I have is my brass trimmers. I use the RCBS Precision Trimmer for almost everything. Most of my 30-caliber, 6.5-caliber, and 22-caliber brass gets trimmed on that unit. Side note: it's amazing. If you think you would use one enough to justify the price, go ahead and get one. You're missing out if you don't. I also have an old Lyman Case Trim Express. It still works for a few cartridges that are not compatible with the RCBS, like 375 H&H. It's also never bad to have a spare around should you have a problem. I have the complete set of bushings for obscure calibers; I can still work through them. The throughput on the RCBS is nice, but if I'm only trimming 40 or 50 pieces of brass, the setup time is often not worth it if it involves changing the cut diameter.
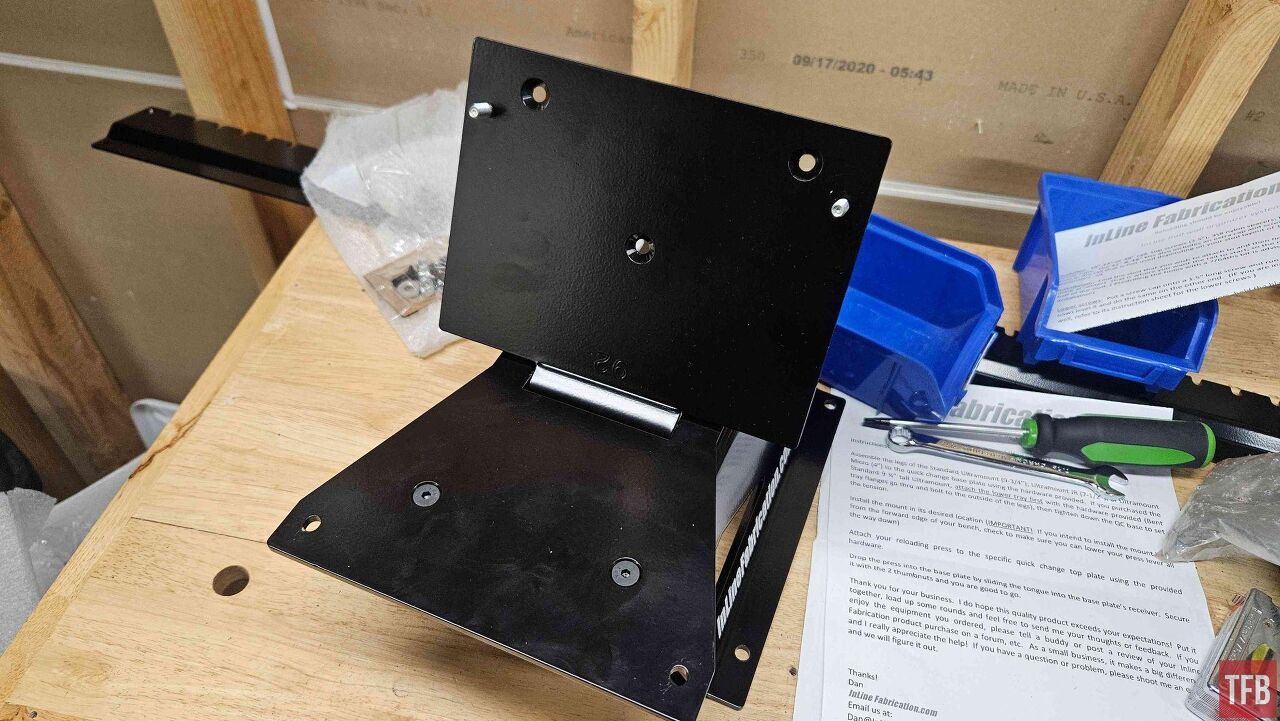
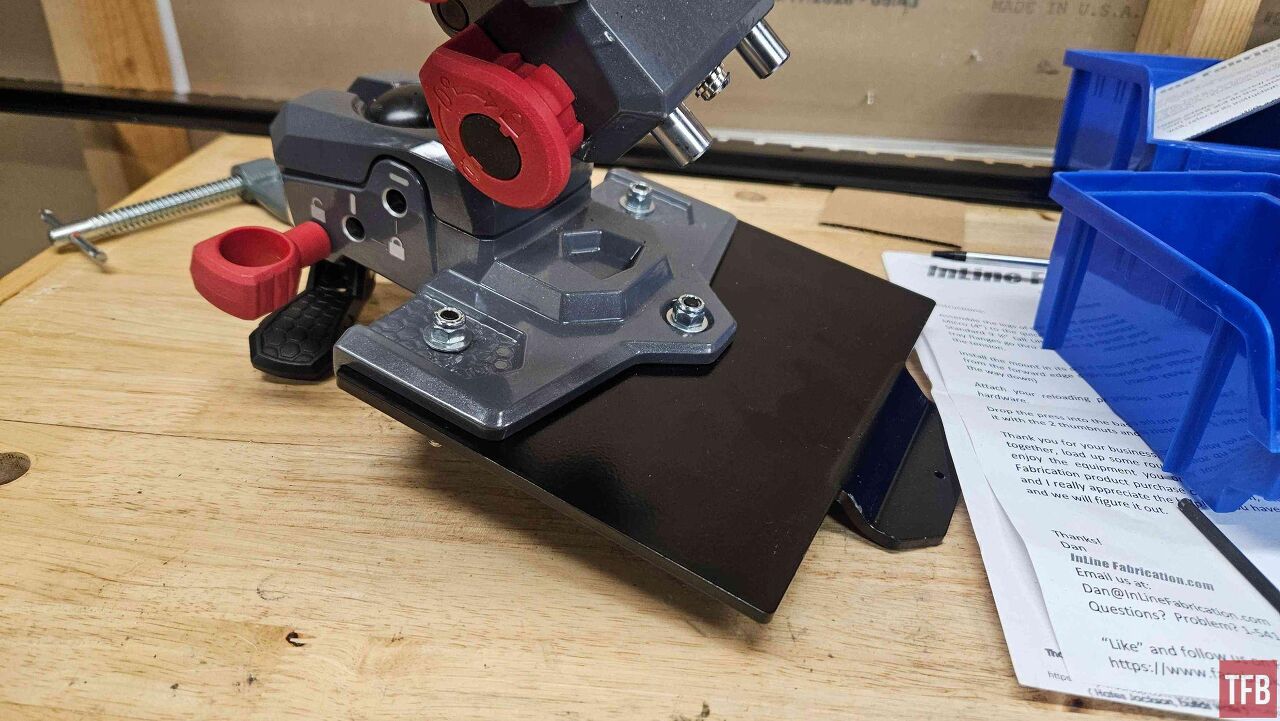
I opted for the 4-inch mini Ultra Mount with the quick-change plates. That would be the base that I attached the trimmers to using quick-change plates. A dual unit would hold those plates on the wall when they were not in use.
I also have a real gun vise that is so incredibly useful. Gun reviewers spend an inordinate amount of time changing scopes around on guns, mounting accessories, and getting things set up for the various reviews that are in process. I use this vise all the time to hold my gun while I'm mounting a scope, bore-sighting, or installing accessories on a gun (or even just to hold a rifle in a convenient position while I'm cleaning the gun). I had not found a mounting solution I was happy with. I never wanted to bolt it to a bench because it invariably would end up being in the wrong spot. Inline fabrication makes up for that, so I added one of those. This way the Ultra Mount could be used for both of those operations.
Installation
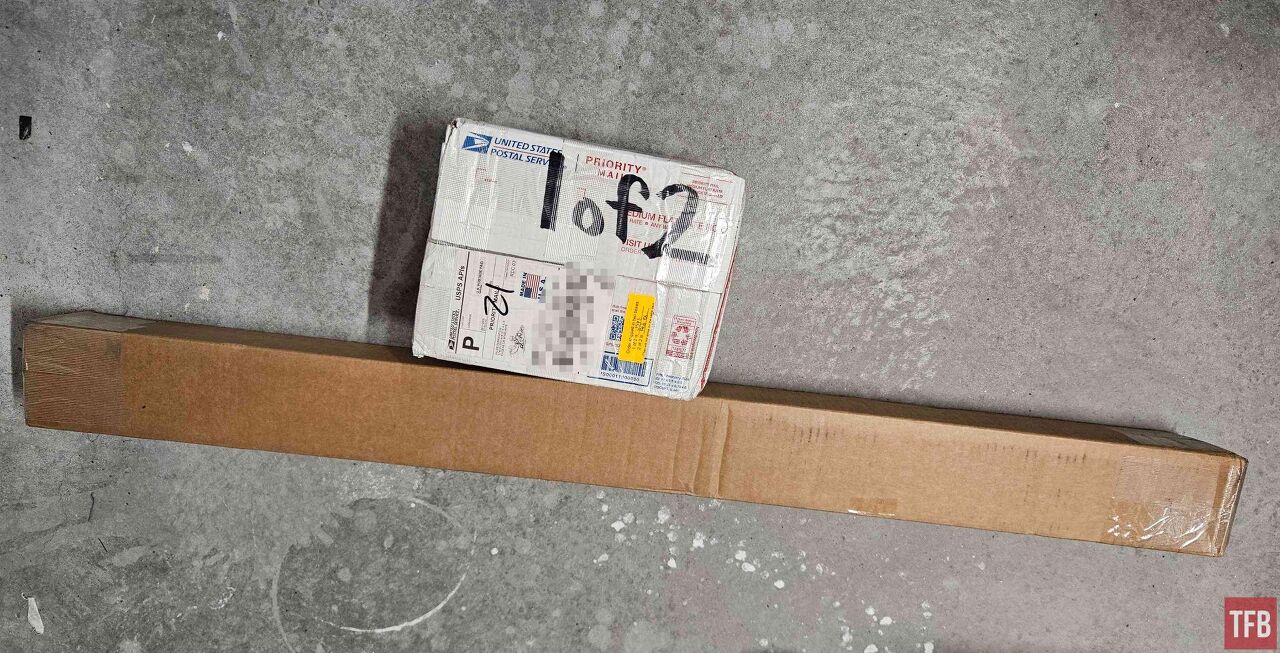
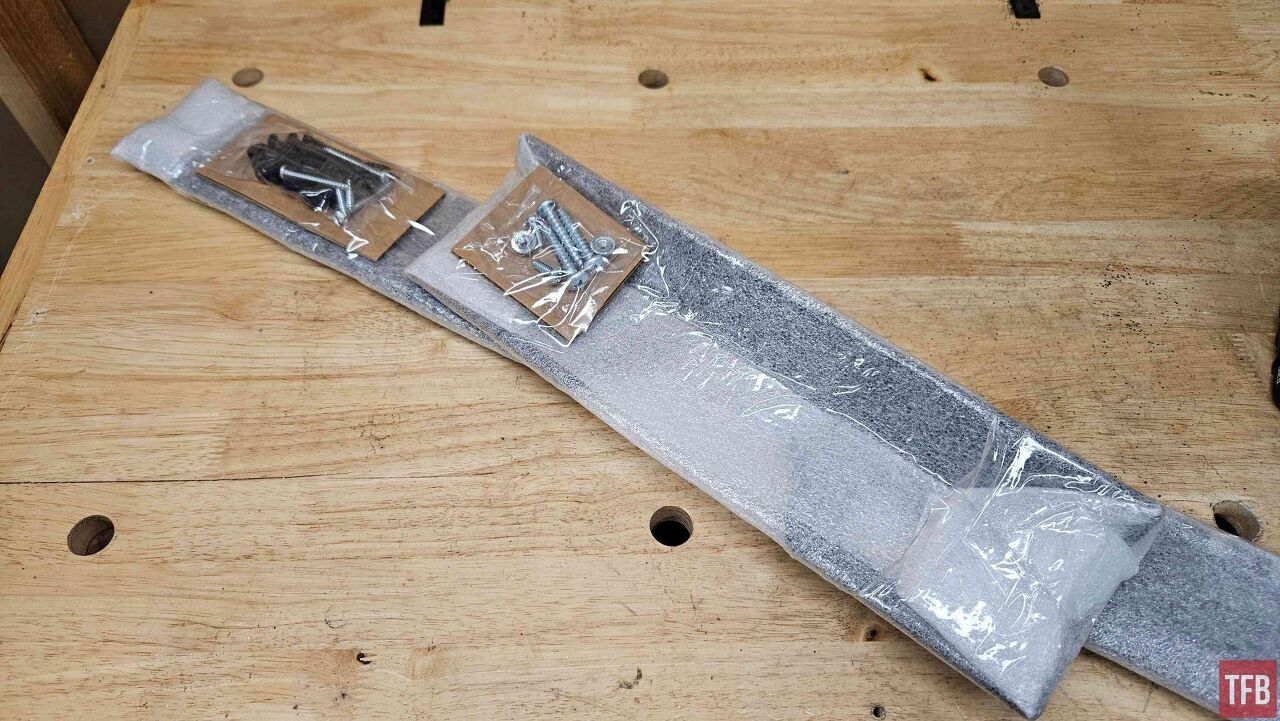
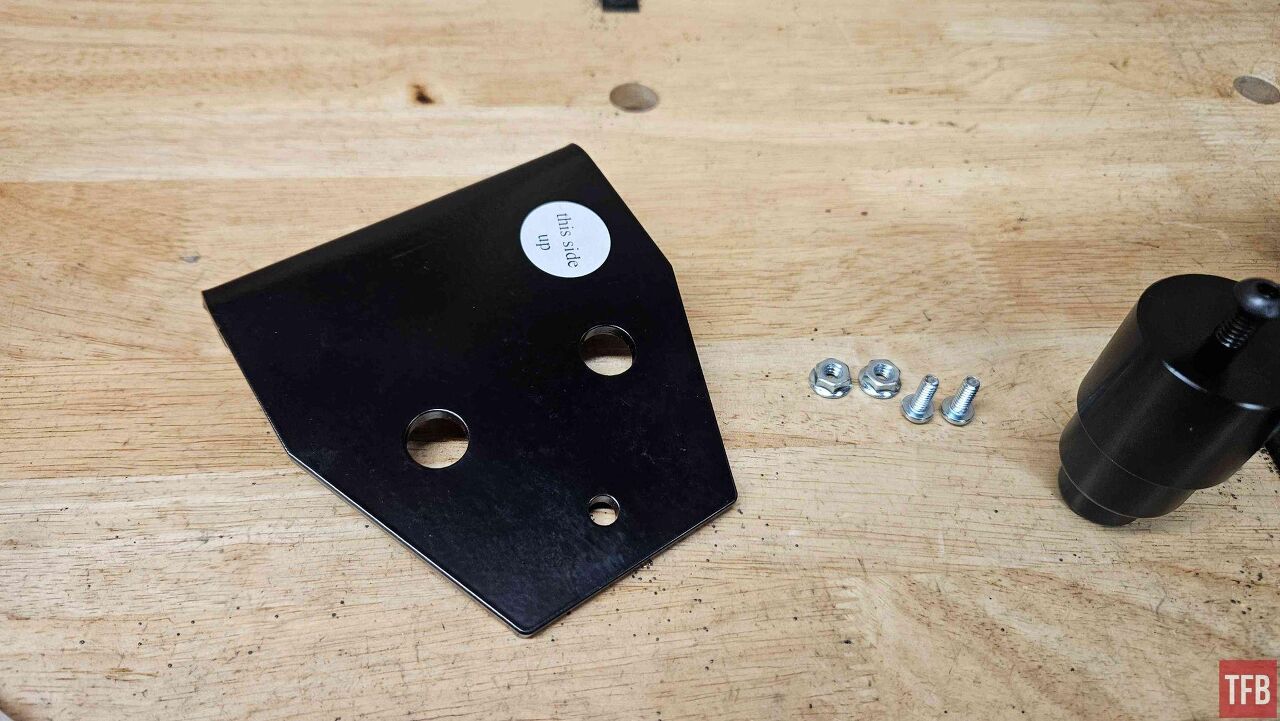
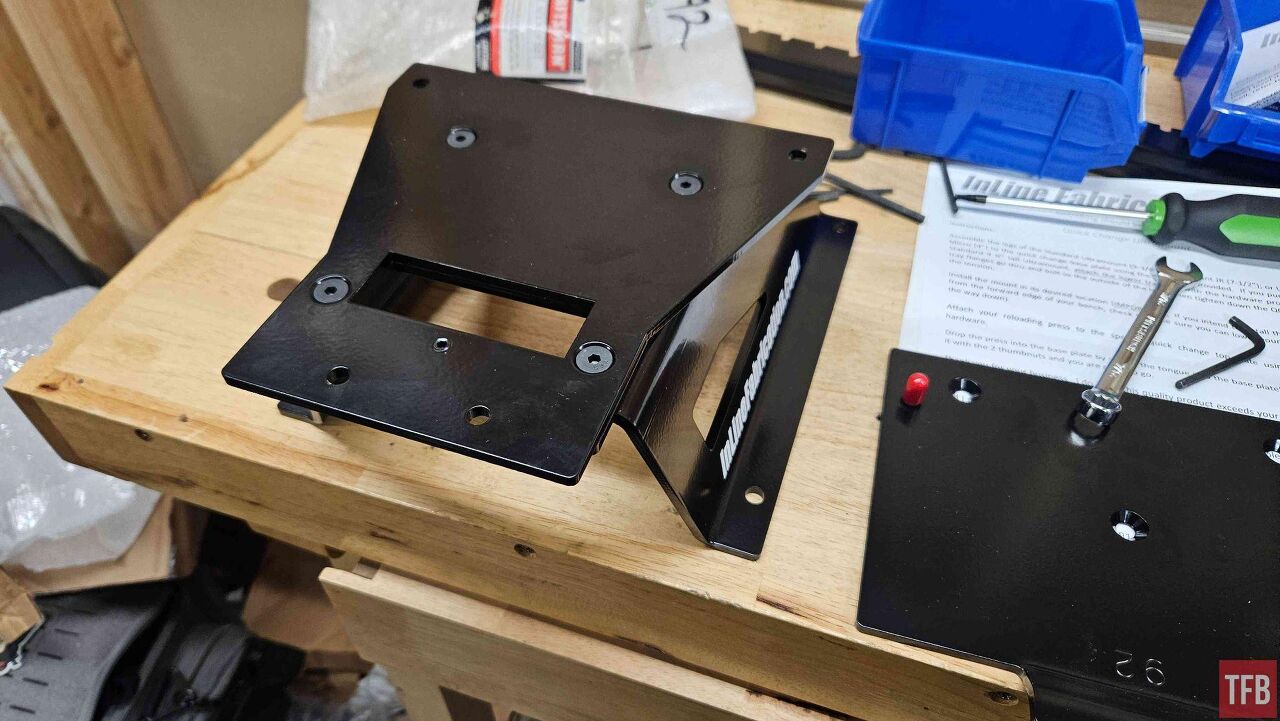
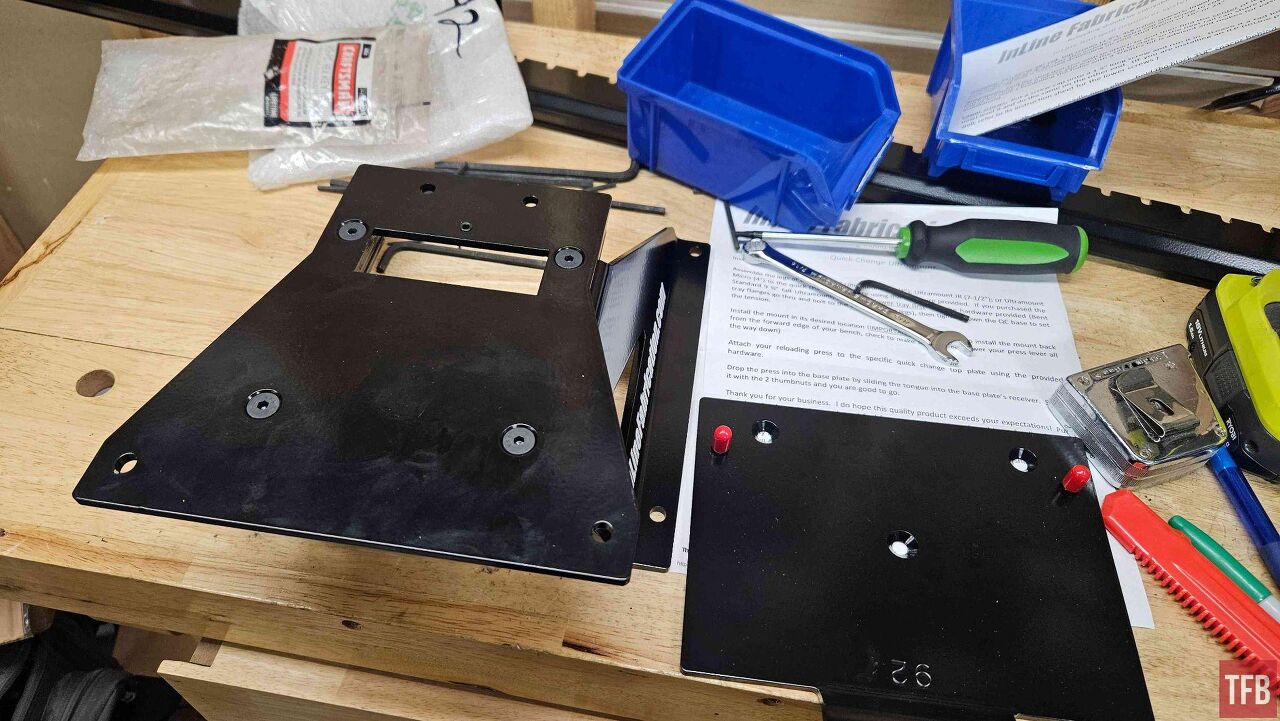
The parts arrived in two packages: a longer one for the rail and a smaller USPS box containing most of the plates and the UltraMount. Everything was packaged very nicely, securely wrapped in bubble wrap, with the hardware attached to each plate in neat little baggies. There was no hunting around in a large Ziploc like building yourself furniture, trying to find the right screws for the job. Everything was where it should be, which was a huge time savings.
The mounting plates also feature numbers engraved on them for the part code. The included packing list matches up those part codes to the item, so it was easy to figure out which accessory would mount on which plate. Without that added attention to detail, it would have been a real pain to figure out which plate went to which item.
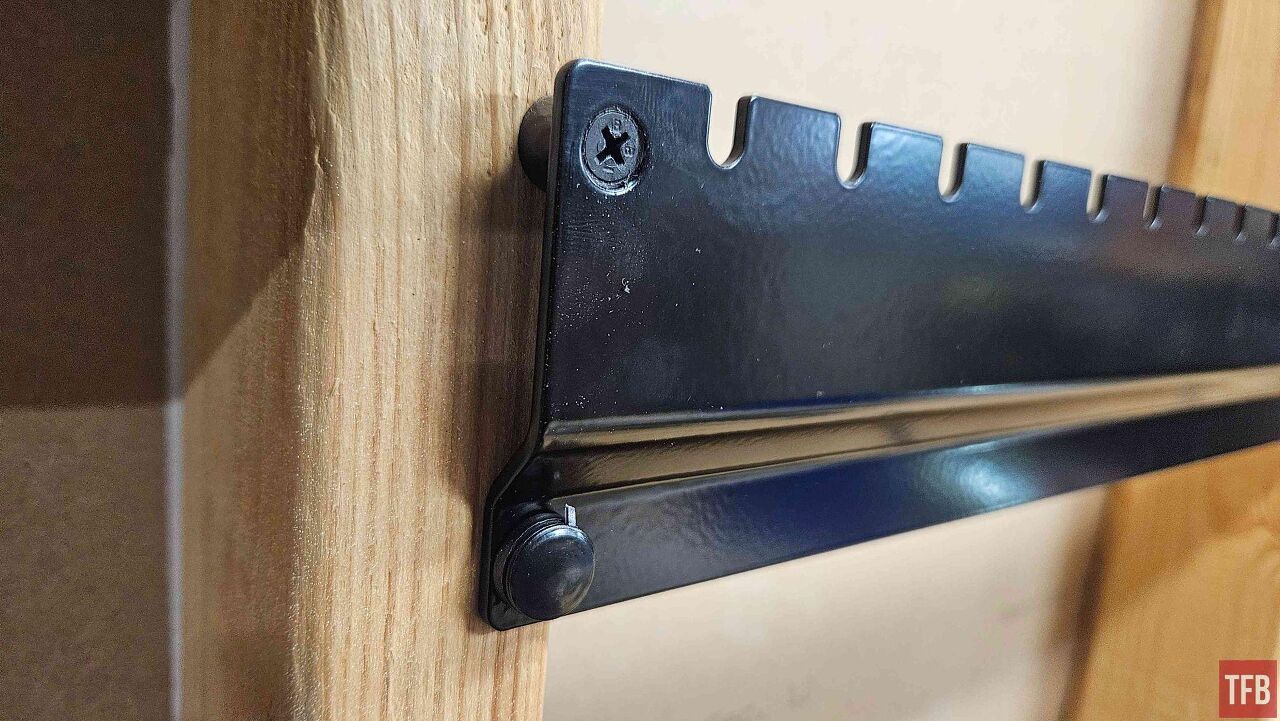
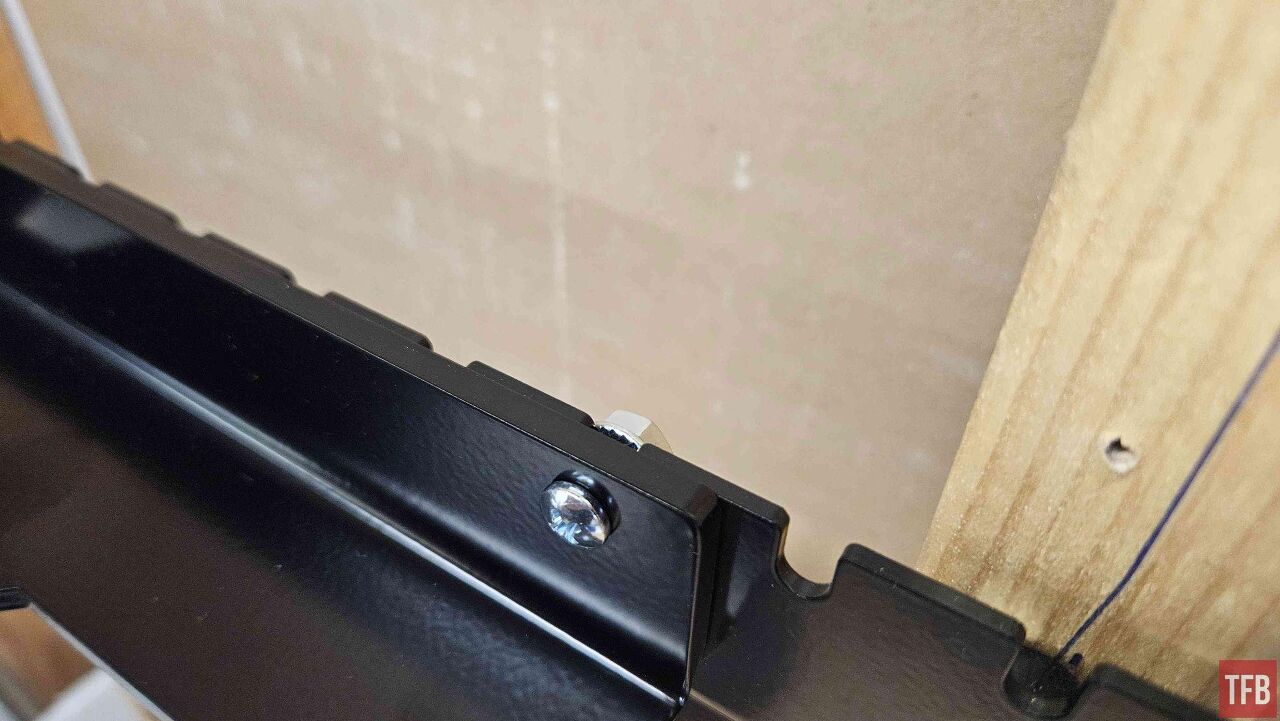
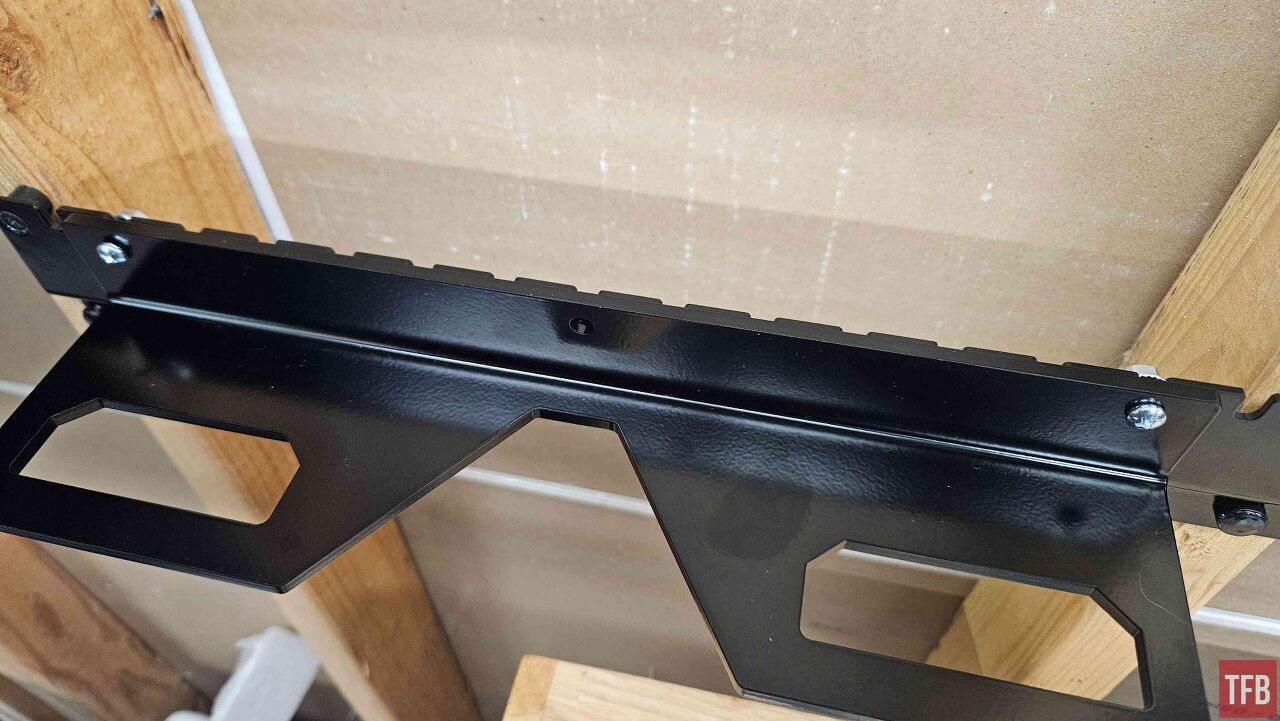
The UltraMount and the rail both had installation instructions. These are in pure written form without pictures. One or two pictures might be helpful for visualizing, but it was not that hard to figure out. The instructions were fairly clear. Installing the rail was not hard. The trickiest part was fitting the spacers on the top screw in position, but even that was fairly simple.
Thinking through the setup and where everything should go was actually the difficult part. Once the rail location was set, the beauty of the system is that the parts can move across the rail as they need to. As you refine the system, it also adds opportunities to grow in the future to add more parts.
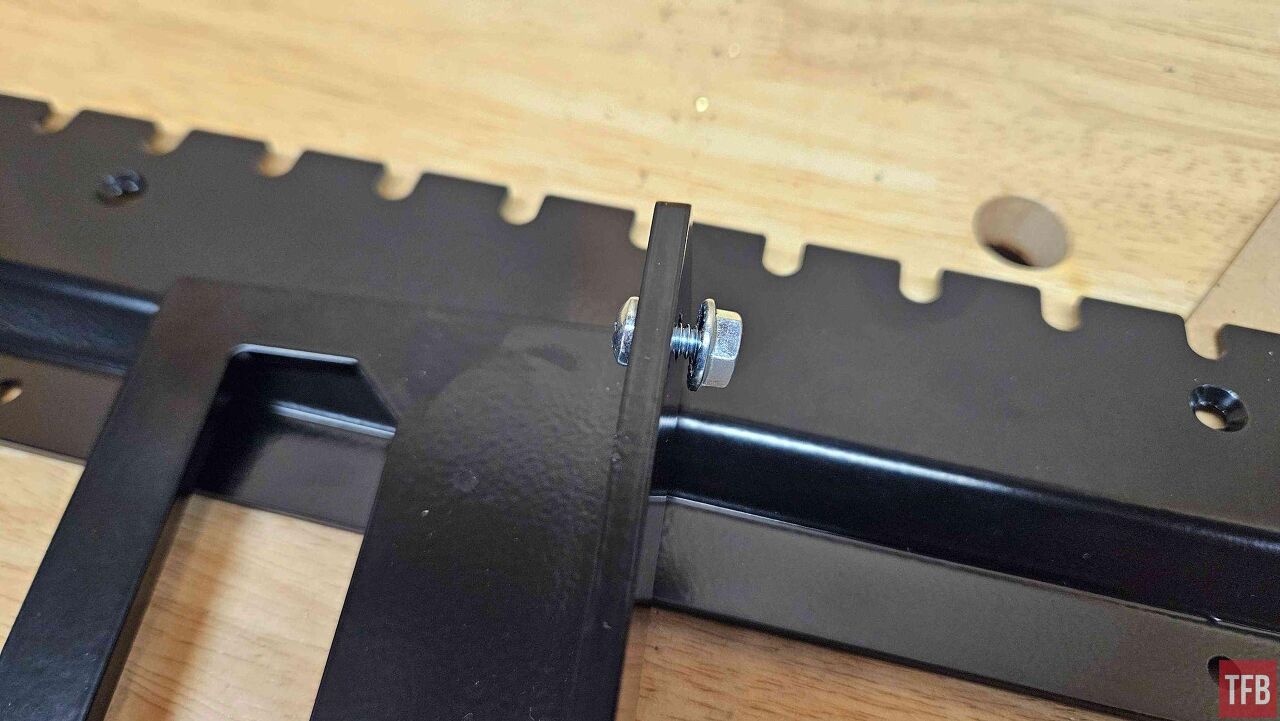
I really wish a picture of the Ultra Mount had been included in the instructions. I assembled it initially backwards. I only figured this out when it was time to slip a plate into the unit with a trimmer attached, and it was all wrong. This was not hard to fix. It was just annoying and could have been prevented with a simple diagram or picture, or maybe if I had just read more carefully.
One part of the installation that I really liked was the installation hardware for the UltraMount. Inline offers multiple methods to attach the UltraMount to your benchtop. I opted for a drill-through system with barbs that would secure the screws from the underside of the table. That seemed like the best approach for me.
Installing it was fairly easy, except for trying to get the threaded studs in place inside the drawers, but with some finagling, that too was not that hard. The way the system was bolted down and secured was incredibly secure and very clean. I would rate that installation kit very highly.
One issue I did run into was with the overall size of the RCBS trimmer when mounted to the plate. It extends over the back of the plate some distance, and it only fits in my wall rack because this is in an unfinished basement. If this rail were installed on a finished wall, there would be nowhere for the trimmer to go. Keep that in mind if you are using large or abnormally shaped items on your plates.
Conclusion
I love this equipment. It has made my reloading setup so much more convenient. Switching turrets on my press, switching between trimmers: it is all so much more efficient and organized than it used to be. I should have done this years ago. Now that I have the basic structure of my organizational system in place, I'm looking forward to adding some more parts and accessories to maximize storage.